Swipe to view slides
-
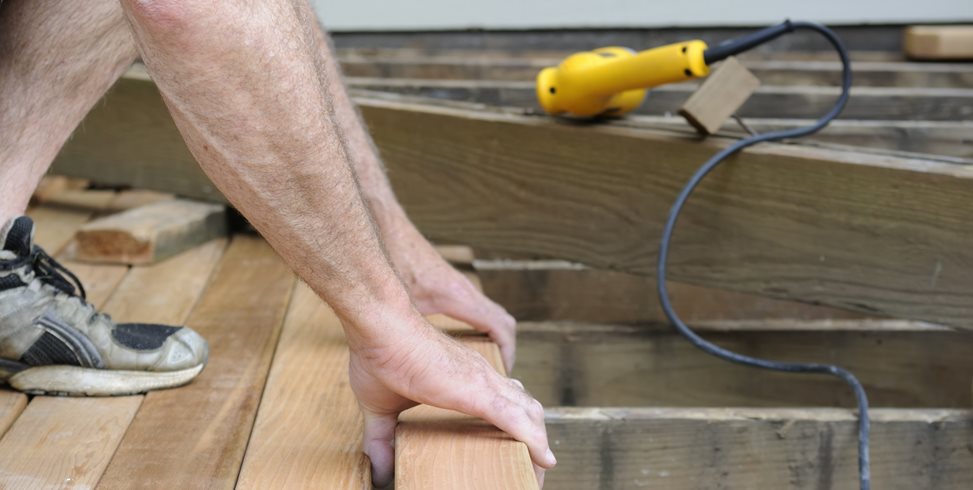
When building a deck it is important for beams to be spaced properly in order to support the deck boards.
-
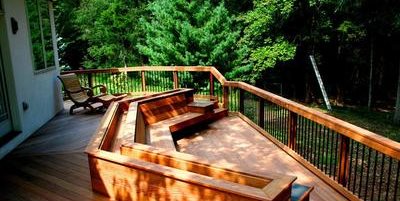
Adding a built-in bench and flower box created a ready-made entertaining area on this ipe deck.
-
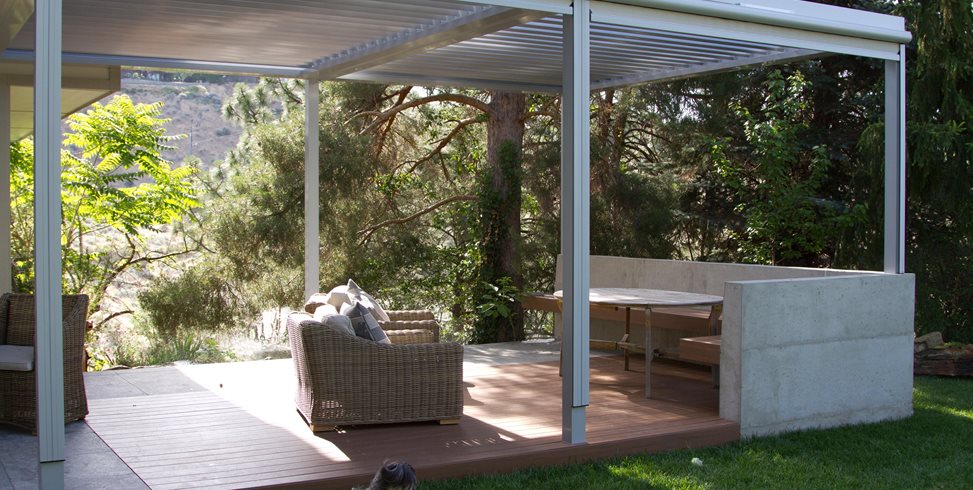
A shade structure over your deck keeps things cool and lets you relax outdoors even during the hottest parts the day.
-
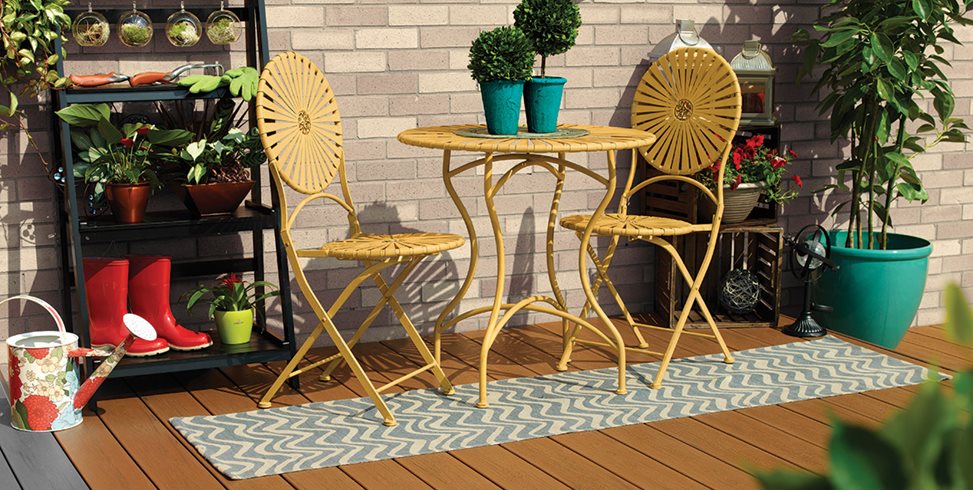
The hidden fastener system on this TimberTech capped composite deck has a clean, blemish-free look with no screw heads marring the surface.
While most people hire a contractor to build their deck, questions about the construction process can arise during the design, deck planning or installation process. Here, decking professionals explain the major elements of the deck as well as some of the extra amenities you may want to consider.
Components of the Deck
Footing
- Most decks begin by pouring concrete footings and attaching post anchors. Your local building code and your region’s frost depth will determine how deep to pour the footings. Footings hold up the posts.
Post
- Posts are attached to the footings and hold the support beams up off the ground. Posts are important to ensure good airflow under your deck and to be able to access the under-deck area as needed for maintenance.
Beams
- Horizontal beams hold up the deck framing and provide the main structural support. They are usually made of 2 x 8” or 2 x 10” lumber.
Joist
- The joists create a framework running under the entirety of the deck which support the deck boards. “It’s fine to use pressure-treated framing even when using hardwood decking, because joists run vertically,” says Dan Ivancic of Advantage Trim & Lumber Co. in Buffalo, NY. “Water doesn’t sit on them, so they don’t tend to rot.” Joists run perpendicular to the deck boards.
Ledgers and header joists
- Ledgers anchor a deck to the house and support one end of each of the joists. Header joists support the other side of the joists.
Deck boards
- The deck boards are what you walk on; they act as visible flooring for your deck. “The biggest mistake people make in installing a wood deck is not letting the boards acclimate,” says Ivancic. “It’s like hardwood flooring for outside the house. You need to bring the wood to where it will be installed and let it breathe and settle for about a week. If you don’t do this, the edges of the board can cup up or buckle,” he says. There’s no need to tarp or otherwise protect the wood during this stage.
Drainage system
- While most decks shed water easily between the slats, you’ll need to make sure the water coming off the deck is draining away from the house. If it’s not, your contractor will likely suggest a drainage system.
Hidden fasteners
- The advantage of a hidden fastener system is that there are no screw heads dotting the surface and blemishing your deck. “They look so much more presentable,” says Ivancic. If you don’t use a hidden fastener system, your contractor may be able to use little caps of composite or wood to hide the screw heads.
Railing
-
Deck railing may not be necessary to meet code if your deck is very close to the ground, but most contractors prefer to use railing as an architectural element and to provide a feeling of security, even when it’s not required.
Stairs
- A simple stairway will do just fine for inexpensive projects, or given a higher budget your contractor can create wrap-around stairs which double as casual seating. If you have a patio below the deck, Bobby Parks of Peachtree Decks & Porches in Alpharetta, GA cautions, “You don’t want to place the stairway where you’ll be looking at the side of it from the patio.” He advises bumping out the deck another few feet on one side and running the stairs perpendicular so they don’t take up so much visual space.

 Backyards
 Front Yards


