How to Lay Sod
A step-by-step guide to laying a beautiful sod lawnMany people prefer laying sod to planting seed because of the instant gratification. However, it may not be as instant as you think. If you plan to do the job yourself you should expect two weekends of hard work and equipment rentals. If this doesn't sound good to you then hire a landscaping company that can come in and get the sod laid quickly and efficiently.
- Measure & Order
The first step of laying sod is to measure the area you plan to cover and order your sod. Sod is sold either by square foot or square yard depending on the dealer. So make sure you have the right numbers before ordering. If you order directly from a grower they can deliver the sod on the morning you plan to lay it. But if you are getting your sod from a big box store you will have to pick it up yourself.- Pro Tip: Order slightly more sod than your measurements require to account for cutting around curves and pieces that dry out or don't root properly.
- Soil Preparation & Leveling
The second step of laying sod is preparing and leveling the soil. Once your soil is free of weeds and old, patchy grass you should have it tested. Having your soil tested before placing sod will ensure that the optimum growing conditions exist. You can have a soil sample sent out to a local university, perform the test yourself with a store bought kit, or hire a landscaper. Next, soil amendments should be added based on the results of the test. The amendments can be mixed into the native soil with a rototiller. After all the soil is tilled and an irrigation system is installed, it is time to level the area back out. Depending on the size of the area you plan to sod, leveling can be completed with shovels and rakes.- Pro Tip: Pay close attention to existing sprinkler lines when using a rototiller. There's nothing worse than delaying the process with sprinkler repairs.
- Lay Sod
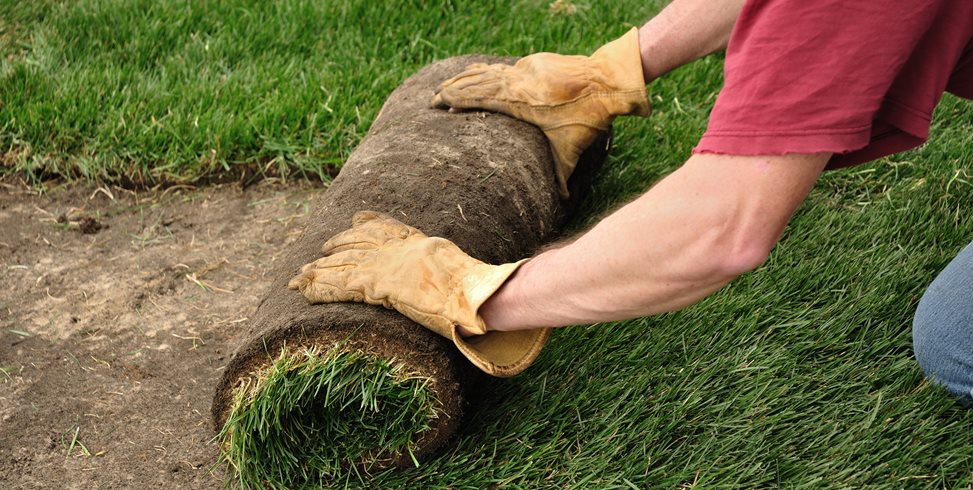
After preparing and leveling the soil you are ready to lay your sod. Keep in mind that sod should be laid as soon as it is delivered or it may dry out. Begin by laying the sod along a straight edge such as a wall, fence or walkway. If the area does not have a straight edge, use a string to create one. Lay the first row of sod all the way along the straight edge. Continue laying subsequent rows, but stagger the pieces of sod so that the seams do not line up with each other. Cut the sod to fit irregular shapes such as around a planter.- Pro Tip: If laying sod on a hill make sure your rows run perpendicular to the slope. This way they will be more likely to stay in place.
- Pat or Roll Sod Down
This step ensures that the roots of the sod all have good contact with the soil below. For small areas, manually patting the sod down will usually suffice, but for larger lawns a sod roller will come in handy.- Pro Tip: Avoid over working the freshly laid sod - too much patting or rolling can cause damage.
- Water Deeply Daily
Fresh sod requires a lot of water. It is best to water deeply each morning to promote root growth. Continue daily watering for the first week or two, then gradually move to every other day and finally cut back to twice a week.- Pro Tip: Take the weather into account. If you laid your sod in the middle of summer you may need to water more frequently. Watch for signs of too little water, such as dried or crunchy grass. If you laid your sod in the fall you may need to water less. Watch for signs of too much water, such as mushroom growth.
- Mowing
Once your grass reaches a height of three inches it is time for the first mowing. When mowing sod for the first time keep it fairly long. You can gradually go shorter as the grass matures. A good rule of thumb is to cut off a third of the total height of grass.- Pro Tip: Use a walk-behind mower for new sod. A rid-a-mower can be quite heavy and may cause damage to your freshly laid sod.

 Backyards
 Front Yards


